We independently evaluate all recommended products and services. If you click on links we provide, we may receive compensation.
Getting your nails done at a salon is one of life’s little luxuries. It’s an act of self-care to put your hands in someone else’s hands and let them buff and polish your fingers to perfection. But there’s something to be said for doing your own nails, too. It’s a different, perhaps more literal kind of self-care, and while it requires some practice and focus, it can be just as rewarding — if not more so
Maybe you’re trying to save a little money or can’t find an appointment during the salon’s business hours that works with your schedule. Or maybe you like to switch up your nail color so frequently that it just doesn’t make sense to spend the time and money for a professional manicure every few days. In any case, learning to DIY a manicure at home is a worthwhile (and even enjoyable!) endeavor. Here are eight tips and tricks to help you along the way.
Gather the Necessary Tools
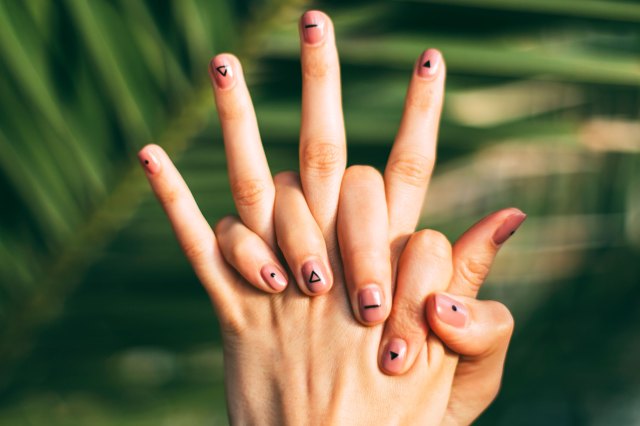
Before you start painting, set up a station with everything you’ll need — like a manicurist’s version of a chef’s mise en place. You don’t want to finish two coats of color only to realize you forgot your top coat and have to go digging through a drawer. Here’s a list of some basic tools, and the order in which you’ll use them:
- Nail clippers
- Emery board
- Nail polish remover
- Cuticle pusher
- Nail buffer
- Base coat
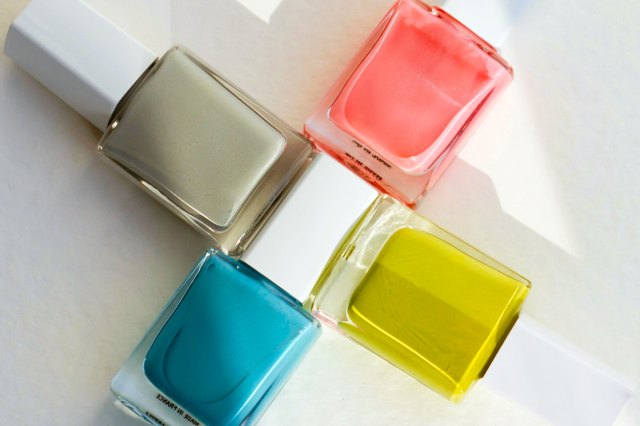
- Nail polish
- Top coat
- Clean-up brush
- Cuticle oil or balm
If you struggle to hold a brush with your nondominant hand, there are also tools like Olive & June’s patented Poppy, which can be popped onto the top of your favorite nail polish bottle to give you (and your nondominant hand) a better grip and more control over the brush.
Additionally, if you have a lot of polishes, it might be worth it to buy a set of those nail polish swatch sticks that salons use so you can see their color selection. It’s a little extra and not at all necessary, but it lets you visualize different polishes against your hand without painting and removing a thousand different shades to see what you’re in the mood for. Most of them come with sheets of numbered stickers so you can label both the swatch and the bottle for easy reference.
Prep Your Nails
The perfect manicure starts with a perfect canvas, which means some of the most important work happens before you even touch a bottle of polish. You might spend as much time prepping your nails as you do actually painting them — and that’s OK.
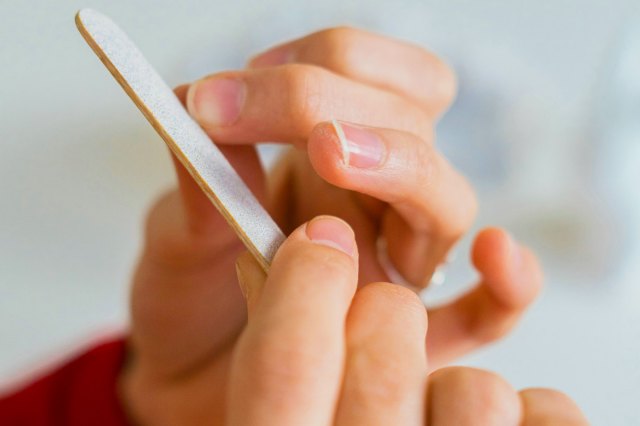
Start by cutting and/or filing your nails to the length and shape you want. If they’re already short — say, because it hasn’t been long since your last manicure — you can skip the clippers and just use an emery board to clean up the edges and refine the shape. Simple shapes such as square, rounded, or squoval (square oval) nails are easiest to do yourself, but if you’re feeling adventurous, you can try something a little more complicated.
Once you’re satisfied with the length and shape, soak a cotton pad with polish remover (like this soy formula from Ella + Mila) to get rid of any leftover or lingering polish, and then use a cuticle pusher to gently push back (not cut!) the cuticle at the base of your nail. (Cutting your cuticles increases the risk of infection.) You can also very lightly buff the surface of each nail with a nail buffer — not to be confused with a nail file, though there are tools that combine both on one block — to create a smooth base.
Use a Base Coat
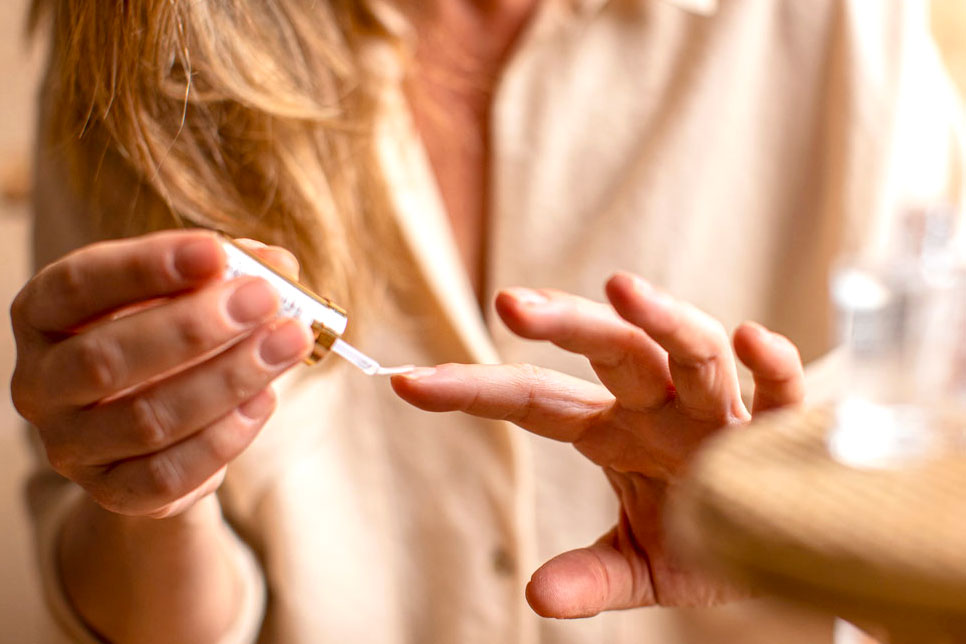
You may be tempted to skip this step and just do polish and a top coat, but a base coat is key to a longer-lasting manicure. Not only does it protect your nail from staining, but it also creates a smooth, even surface and gives the polish something to adhere to, which helps prevent chipping and peeling. Some base coats even have ingredients to nourish or strengthen the nail. Our favorite options include Essie’s Strong Start, Butter London’s Nail Foundation, and Orly’s Bonder.

Apply Thin Layers
Once you apply the base coat, let it set for a minute or two before going in with your first coat of color. The key to this next step is thin, even layers — it might look too sheer initially, but just trust the process. Thick coats are messy and take longer to dry, and you can always build up the opacity with additional thin coats.
Wipe off most of the polish on one side of the brush along the neck of the bottle, and then add a bead of color to the middle of your nail, pushing the polish from there toward your cuticle before dragging it up to the tip. Then spread the excess polish to either side of the nail before using whatever is left on the brush to seal the top edge. (This helps to prevent chipping.) Once you let that set for two minutes — which is about how long it takes to paint all 10 nails anyway — start the whole process all over again. Two coats of color is generally enough for most polishes, but you may need to add a third coat for especially sheer or streaky shades.
Finish With a Top Coat
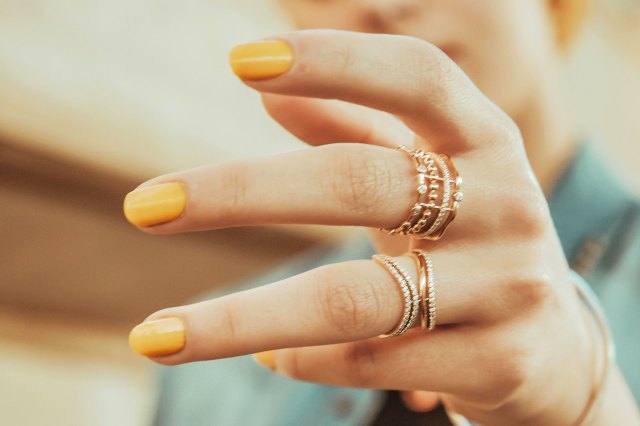
Two minutes after you add your last coat of color, you can go in with a top coat, which seals everything in and adds a professional-looking veneer. As with the colored polish, you’ll want to do it in a thin, even layer and seal the top edge. If you like top coats with a high-gloss finish, Essie’s Gel Couture, OPI’s Infinite Shine, Sally Hansen’s Miracle Gel, and Olive & June’s Super Glossy top coats are all great options; if you want a matte finish, try Essie’s Matte Gel Couture or Matte About You. (There are also quick-drying or anti-chip formulas from various brands.) Bonus pro tip: You can extend the life of your manicure by reapplying the top coat after a few days.
Clean Up Your Mistakes
Here’s the thing: You’re probably going to make mistakes, no matter how careful you are or how steady your hand is. Even salon manicurists get polish on the skin sometimes. Fortunately, you don’t have to start over every time you slip up. A little nail polish remover on a cotton swab or detail brush — like this one from Olive & June — can clean up your messy edges. And any other stubborn stray polish will likely come off in the shower. (Just make sure your nails are fully dry first.)
Allow Ample Drying Time
There’s nothing worse than giving yourself a perfect manicure, only to ruin it 10 minutes later before it’s fully set. (Who among us hasn’t smudged a freshly polished nail on a zipper or door handle?) Try to pick a time when you know you’ll have at least 45 minutes to let your manicure dry — most polishes will dry in an hour, but some (such as formaldehyde-free formulas) may take as long as two hours. Also note that while your nails may feel dry to the touch after 20 to 30 minutes, the layers underneath may still be wet, which means they can still smudge.
When you’re sure the polish is dry, add a bit of cuticle oil or balm — such as Essie’s On a Roll Apricot Cuticle Oil, Sally Hansen’s Cuticle Rehab Oil Balm, or Olive & June’s Cuticle Balm — around the base and sides of each nail, and massage it in gently.
Practice, Practice, Practice
As with anything else, practice makes perfect — or if not perfect, at least passably close to it. Your first at-home manicure might look a little messy, but that’s OK. You’ll get better each time you do it: Your hand will feel a little steadier, your layers will be more even, and you’ll have fewer mistakes to clean up. Eventually, you may even feel skilled enough to attempt some nail art. And if not, you can always go back to the salon and let the professionals take over.
This article is for general informational purposes only.
Affiliate Disclaimer Medical Disclaimer









 Unique Beauty is free for all users.